Today, we are all about aspect ratios in photography. Yes, ratios as in math ratios. Yes, ratios as in a quick trip back to 5th grade math. Let’s break it down:
The aspect ratio in photography is the relationship (ratio) of width and height of an image. It’s expressed like this- width:height. 35mm cameras and dSLRs have an aspect ratio of 3:2, meaning the width is 1.5 times the height. If you are shooting “portrait” or vertical, that switches to 2:3 because when you shoot that way, your image becomes taller than it is wide.
So what does that have to do with cropping? Well, in short, it explains why when you order an 8×10 you might notice you’ve accidentally cropped someone’s head and/or feet. Here’s where the math comes in. The corresponding print for a 3:2 aspect ratio is a 4×6 print (or think of it as a 6×4, if you want to keep it width to height). We know that because two goes into six 3 times and two goes into four 2 times (6/4 reduces to 3/2).
Now, what happens when you want, say, an 8×10 print. Well, if you didn’t crop it wide enough, you just might chop off part of someone’s head or feet. You see, an 8×10 (or 10×8 if that makes it easier) has a 5:4 ratio (10/8 reduces to 5/4). Which means we’re no longer working with our standard aspect ratio. We are now working with a more narrow ratio. What this means for your print is that you are going to LOSE part of your image if you print an 8×10. Let’s take a look at this in images.
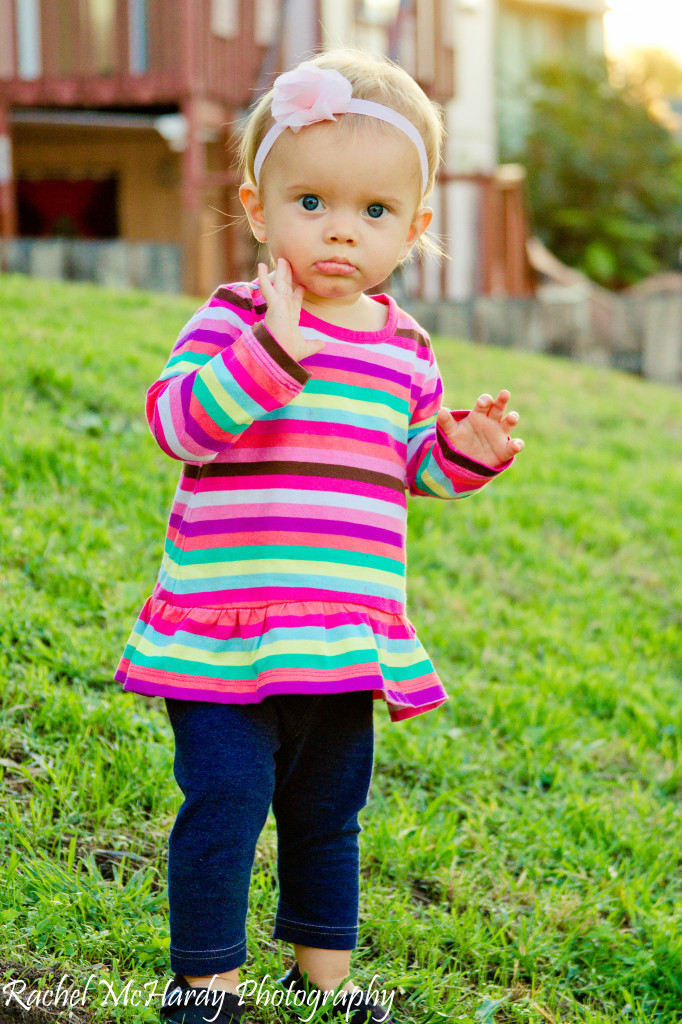
 Above: Image as shot. A close crop to begin with.

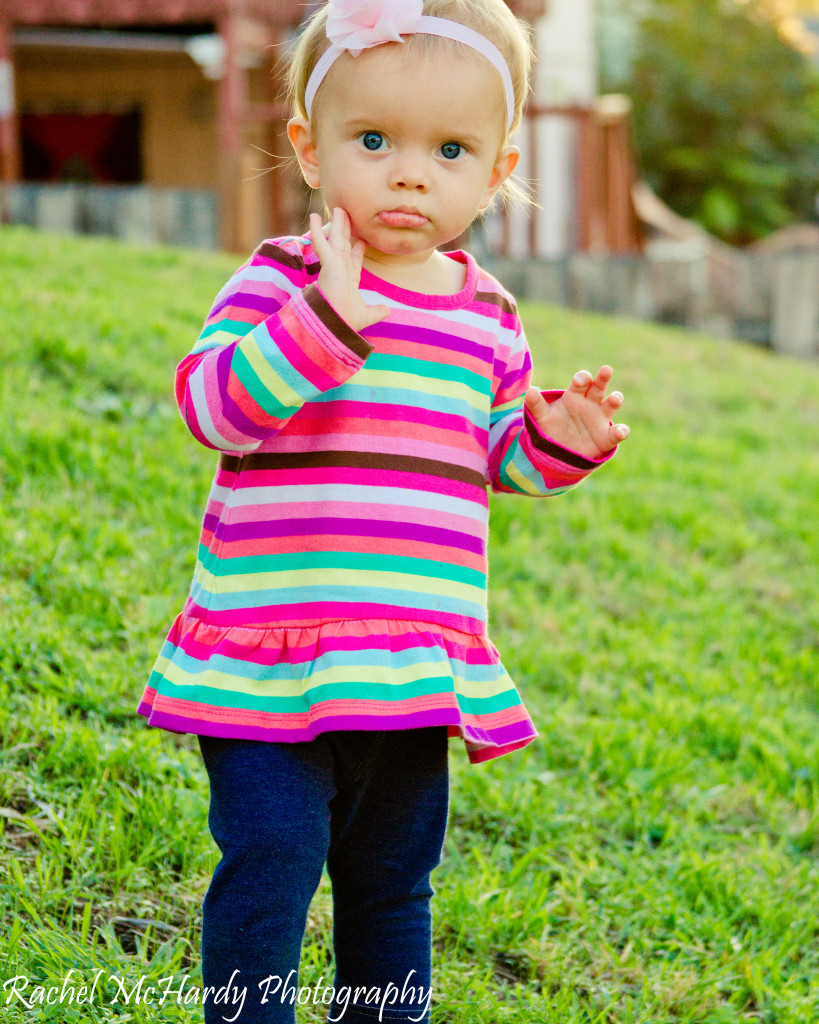
Above: cropped to an 8×10 (5:4 ratio). Notice how much is lost on the top and bottom.
Look at the photo above. What an awkward crop we have going on at an 8×10! We’re missing all of her feet and part of her head. If we stick that in a frame, it’s going to look even more truncated. So what is to be done? Well, there are all kinds of creative options. However, I’m going to stick to the simple ones. Here are a few simple suggestions:
1. Shoot loose- in other words, when taking a shot, anticipate that you might want to turn it into an 8×10 (or another print size with a 5:4 ratio) and leave some extra room along the edges.
2. Avoid cropping as much as possible during post-processing- leave as much real estate space as you can.
3. Stay away from printing the 5:4 ratio all together- opt instead for something with a 3:2 ratio. (See chart below.)
So what did we learn? Any print size that doesn’t follow a 3:2 (or 2:3) ratio is going to result in clipping. Keeping this in mind when you shoot will save you the headache of a bad print later!
| Aspect Ratio: | 1:1 | 6:5 | 5:4 | 7:5 | 3:2 | 2:1 | |||
Print size (in inches): |
5×5 |
20×24 |
4×5 |
11×14 |
10×13 |
2.5×3.5 |
3.5×5 |
4×6 |
10×20 |
| 8×8 | 8×10 | 5×7 | 12×18 | ||||||
| 10×10 | 16×20 | 16×24 | |||||||
| 12×12 | 20×30 | ||||||||
| 20×20 | 24×36 |


